.jpeg)
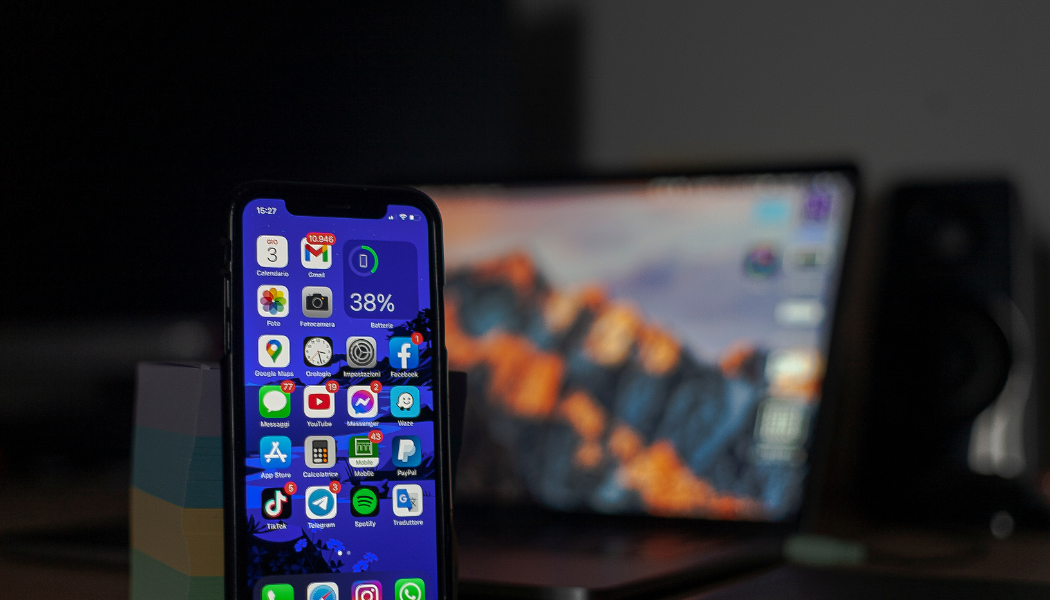
Your smartphone is your life, but your screen is its most vulnerable point. One unlucky drop shouldn't mean a permanent "spider-web" view of your world.
A cracked mobile screen is more than just an eyesore; it’s a ticking time bomb. Tiny glass shards can cut your fingers, and microscopic cracks allow moisture to seep into the motherboard, leading to permanent hardware failure. While many users head straight to a service center, the art of screen replacement is a high-demand skill that can be mastered with the right training.
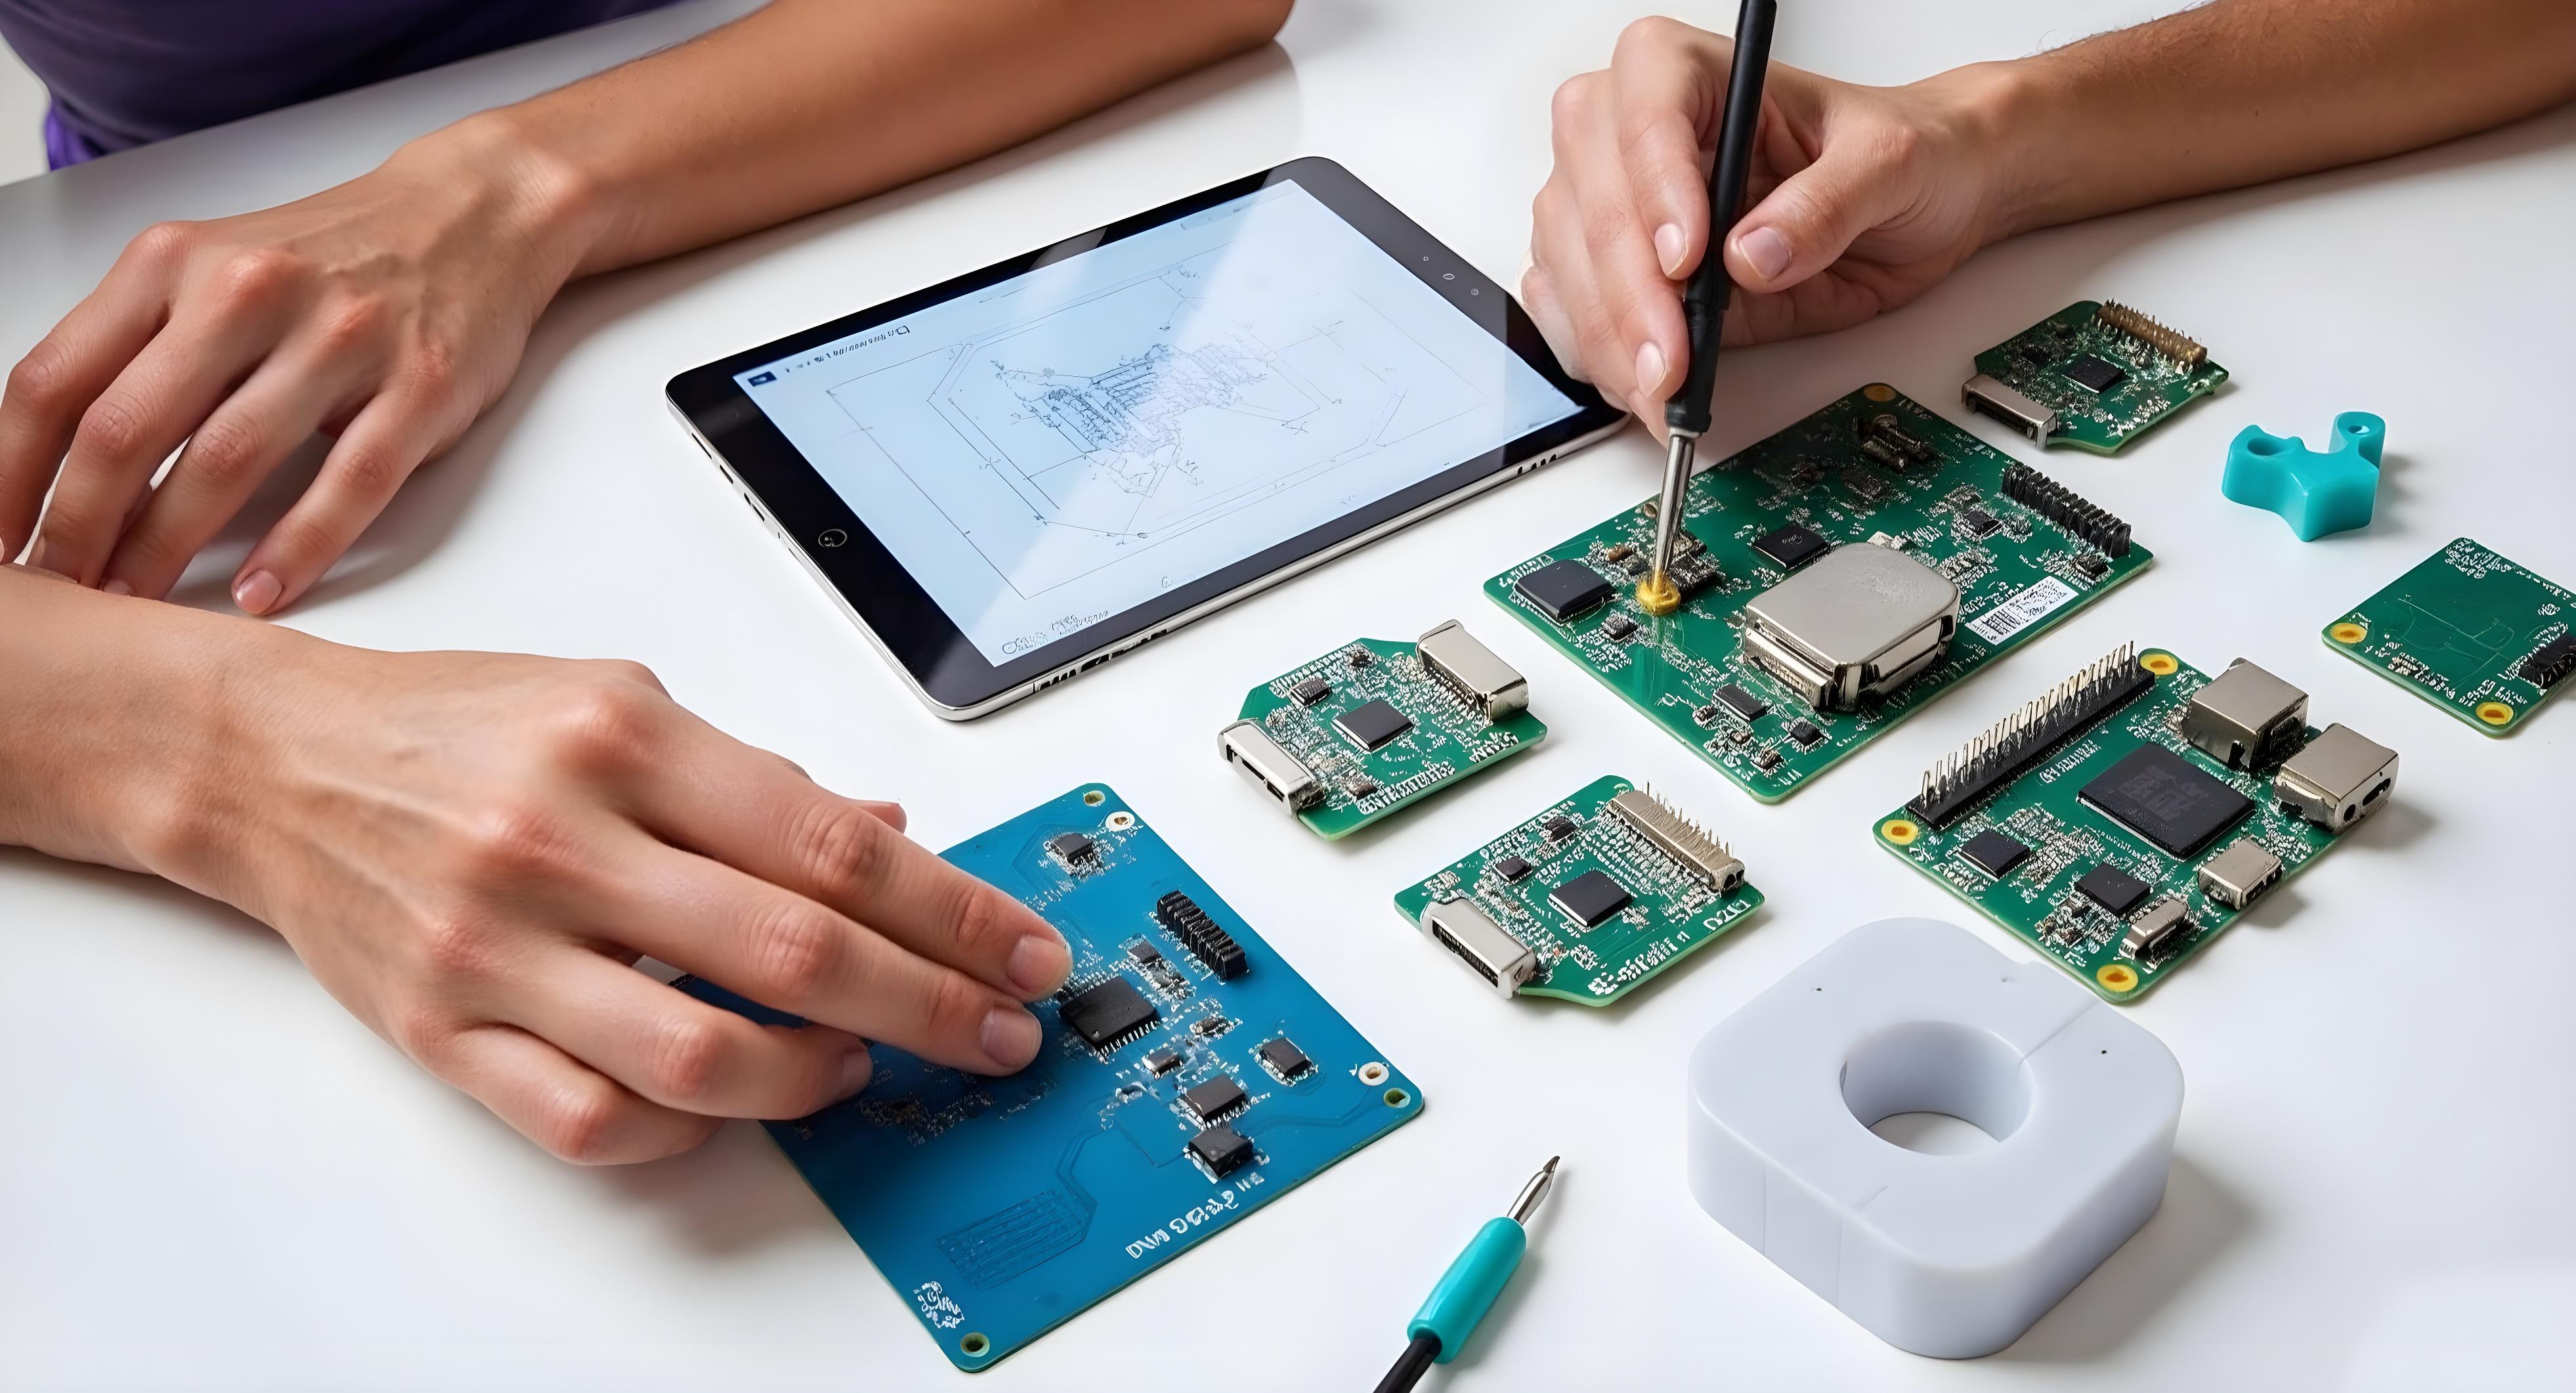
At Magnus Institute, we believe in empowering the next generation of technicians with professional-grade techniques. Here is how the pros handle a mobile screen replacement.
Modern displays are engineered for high-sensitivity touch and vibrant clarity, but this comes at a cost. They are increasingly susceptible to:
Step 1: Power Down & Prep
Turn off the device and remove the SIM tray. This is a simple but critical step to avoid snagging internal components or causing a short.
Step 2: Heat the Edges
Apply heat (80–100°C) around the bezel. This softens the glue, allowing the screen to lift without cracking the frame.
Step 3: The Gentle Lift
Use the suction cup to create a small gap. Insert a plastic pry tool and glide it around the perimeter.
Technician Note: Never insert tools deeply—you risk slicing the display flex cables.
Step 4: Disconnect the Battery (Critical!)
Once inside, remove the metal shield and unplug the battery first. This cuts power to the motherboard, preventing accidental "spark" damage.
Step 5: Unplug Display Connectors
Carefully detach the display, touch, and sensor cables using a plastic spudger.
Step 6: Migrating Sensitive Components
On many devices (especially iPhones), you must transfer the Earpiece Speaker, Proximity Sensors, and Home Button/Face ID to the new screen. These parts are often paired to the motherboard.
Step 7: The "Dry Fit" Test
Connect the new screen temporarily and power on the phone. Check:
Step 8: Frame Cleaning
Remove all traces of old glue using Isopropyl Alcohol. A clean frame ensures the new screen sits flush and stays bonded.
Step 9: Final Assembly & Sealing
Apply fresh B-7000 glue or adhesive strips. Reconnect all cables, secure the metal shields, and press the screen into place.
Step 10: Final Inspection
Allow the adhesive to cure for 30 minutes. Perform a total hardware check—camera, mic, charging, and touch—to ensure the repair is 100% successful.
Do you want to turn these steps into a high-paying career? Reading a guide is the first step, but hands-on experience is what makes a professional.
At Magnus Institute, we provide state-of-the-art labs, chip-level training, and a 100% job placement guarantee. Whether you want to work for a major brand or start your own repair business, we give you the tools to succeed.
Ready to become a certified Mobile Technician? Enroll Now at Magnus Institute and Start Your Tech Career Today!
 Magnus Forum